
A portable oxygen concentrator is only as dependable as its battery, and the weeks after a hip, knee or spine operation test that battery harder than almost any other period. Appointments run long, getting around is slow, and a dead battery is far harder to deal with when you are on crutches. This guide covers the power side of recovery: how to read battery numbers honestly, how to size your supply for a given day, and what to check before you travel.
Whether you need oxygen, and at what setting, is a medical decision for your care team. Nothing below replaces their instructions.
Why the first weeks are the hardest on a battery
Picture a typical post-surgery Tuesday: a 40-minute drive to the clinic, 20 minutes finding parking and checking in, a wait, X-rays, a physical therapy session, and the drive home in traffic. A visit booked as “one hour” easily becomes five or six hours away from a wall outlet.
Recovery also removes your margin for error. Walking to a charger, carrying a heavy spare or reorganizing a bag mid-appointment are all harder in the first weeks. Planning the battery in advance is much easier than solving it on the spot.
What the runtime on the label really means
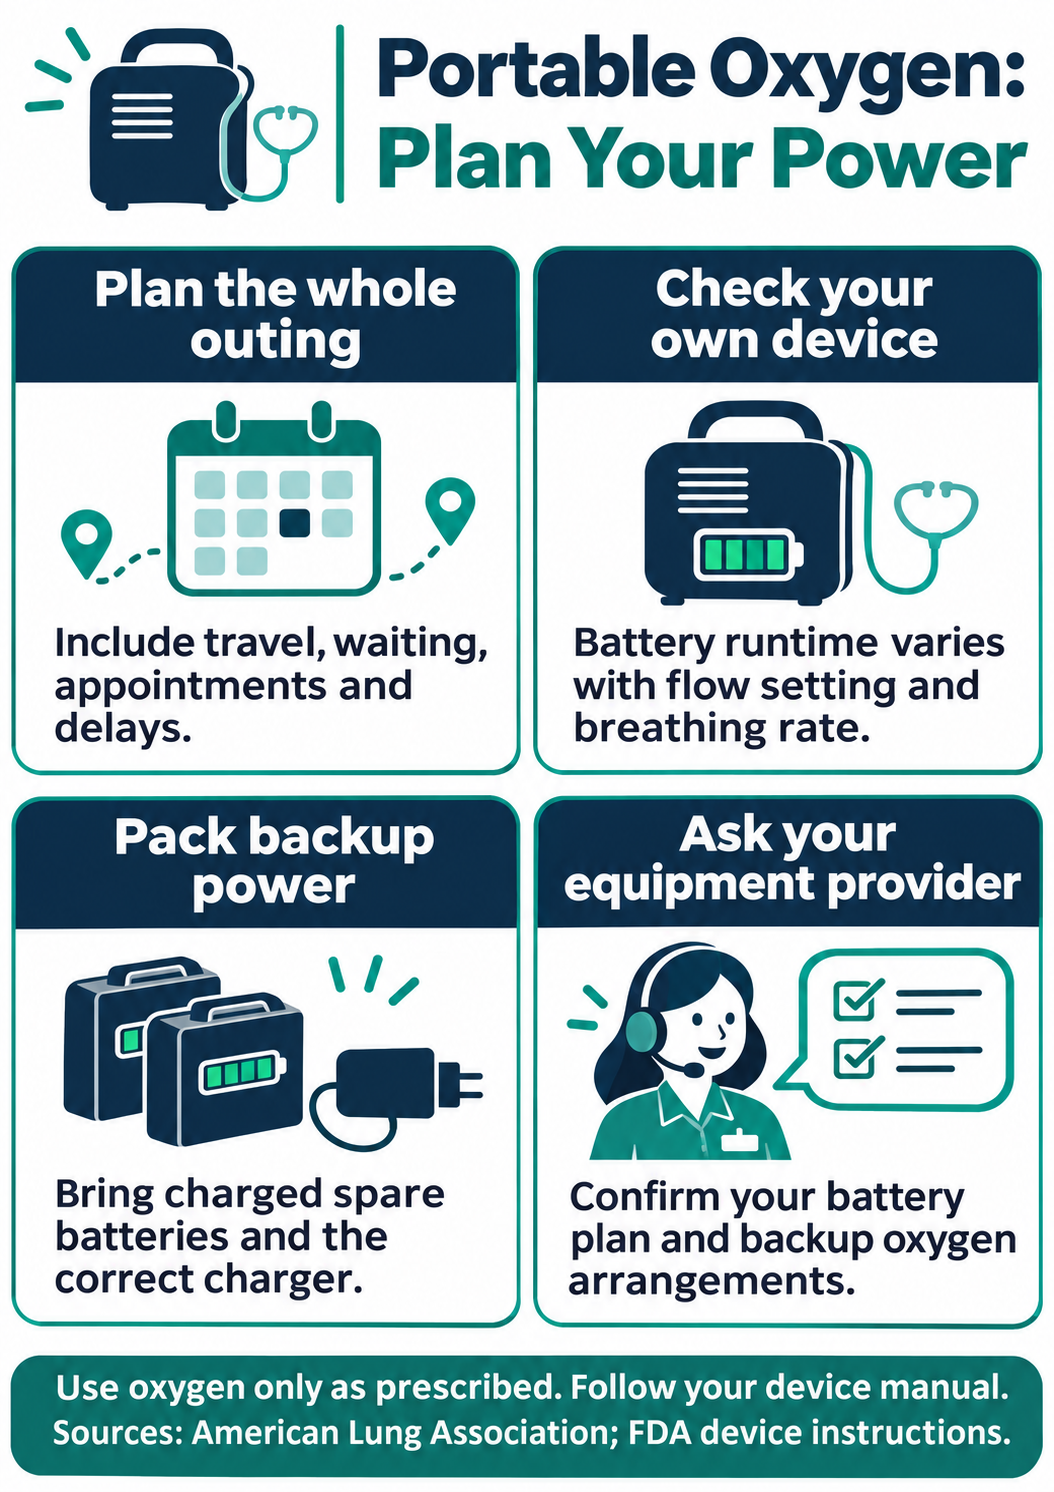
Every portable concentrator lists a battery runtime, but that figure comes from test conditions. In daily use, four things pull it down:
- Flow setting. Higher settings use more power. A runtime quoted at a low setting will not apply to a higher prescribed one.
- Breathing pattern. Most portable units deliver oxygen in pulses triggered by each breath, so faster breathing during pain or exertion can increase power use.
- Temperature. Lithium-ion batteries deliver less in the cold and age faster in the heat.
- Battery age. Capacity fades with every charge cycle. A pack that gave five hours when new may give noticeably less after a year or two of regular use.
The most useful habit is to time your own battery at your own prescribed setting, on an ordinary day with someone nearby, until the low-battery alarm sounds. Use that number, not the brochure number, for all planning.
When comparing batteries, look at watt-hours (Wh) rather than milliamp-hours alone. Wh combines voltage and capacity, so it is the fair way to compare two packs, and it is the unit airlines use for their limits.
Plan the day with four steps
- Add up the whole outing: travel both ways, check-in, waiting, the appointment, and any stop on the way home.
- Add a buffer of 30 to 50 percent for delays.
- Use your timed runtime, trimmed slightly if the battery is more than a year old.
- Divide the hours you need by the hours one battery really gives.
For example, a 90-minute drive each way plus two hours at the clinic is five hours. With a 40 percent buffer, that becomes seven hours. If a tested battery lasts three hours at your setting, one battery is not enough: two fully charged packs are the minimum, ideally with a car adapter as a backup.
These are starting points only. Always plan from your own timed runtime.
| Outing | Typical time away | Planning starting point |
| Local physical therapy | 2–3 hours | One fully charged battery, plus a spare if your tested runtime is short |
| Surgeon follow-up across town | 4–6 hours | Two batteries, or one battery plus a car adapter |
| Full day trip | 8–10 hours | Two to three batteries, a car adapter and a way to recharge during the day |
| Flight | Flight time plus ground time | At least 150% of expected flight duration (see the flying section) |
Appointment-day habits that prevent surprises
- Charge everything the night before, and check the indicator again before you leave.
- Swap in a fresh battery just before you go, and keep the spare within easy reach, not at the bottom of a bag.
- Pack the wall adapter and cord, and ask the clinic whether there is an outlet near the waiting or imaging area.
- Tell staff you are on oxygen when you arrive. A portable concentrator is generally not suitable for use near an MRI scanner, so the department will need to arrange another oxygen source. Confirm this ahead of time.
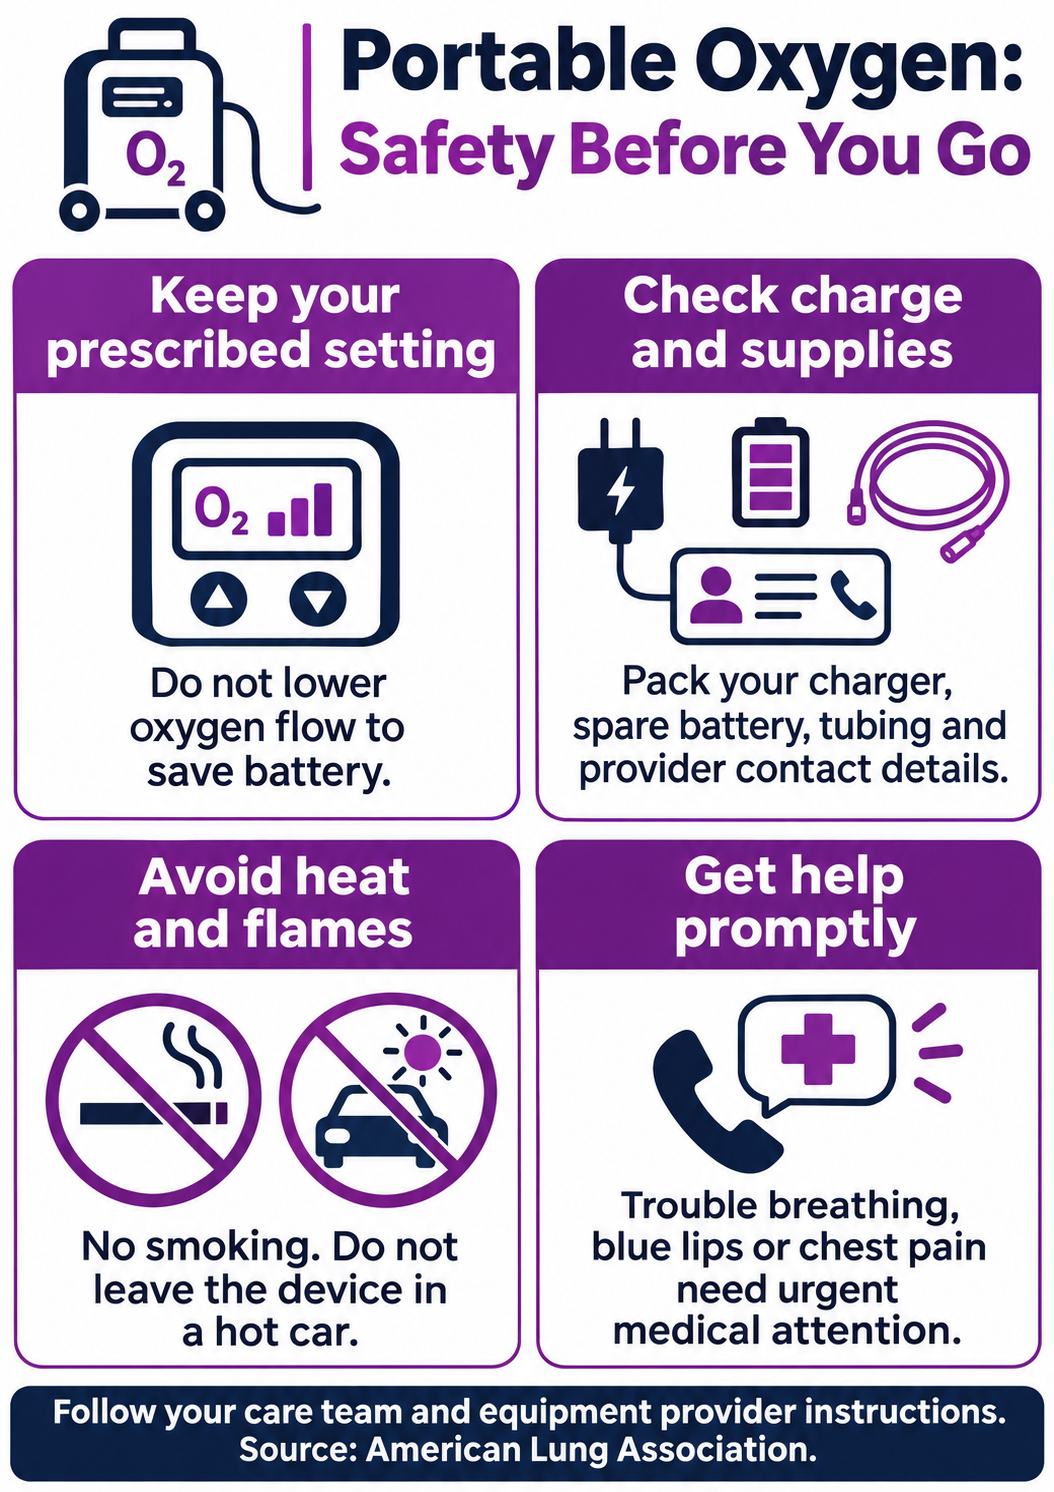
- Never lower the flow setting to stretch the battery. If power is running short, switch to the spare or plug in.
Traveling by car
Heat is the main risk. A battery left on a dashboard, in a trunk or on a sunlit back seat can get hot enough to shorten its life and, in rare cases, become a safety hazard. Keep batteries in the cabin, out of direct sun, and stay within the temperature range in your manual.
A DC car adapter is a useful supplement, but not a substitute for charged batteries. Sockets and fuses fail, and some vehicles cut power when the engine is off. As always with oxygen, keep it away from smoking, open flames and heat sources.
Flying with a portable oxygen concentrator
Check with your surgeon before flying after an operation, then work through the airline’s requirements. The details vary by carrier, but the core points are consistent on U.S. flights:
- Use an FAA-approved concentrator. Confirm with the airline, not only the manufacturer.
- Carry enough battery for at least 150 percent of the expected flight time. A four-hour flight means six hours of battery. Some airlines also count ground time and layovers.
- Keep spare batteries in your carry-on. Loose spare lithium batteries are not allowed in checked baggage, and their terminals must be protected, for example in original packaging or separate plastic bags.
- Know the Wh limits. Spare lithium-ion batteries up to 100 Wh are generally unrestricted in reasonable quantities. Packs from 101 to 160 Wh usually need airline approval and are limited in number, and packs above 160 Wh are not allowed on passenger aircraft.
- Do not rely on in-seat power. It may be missing, switched off or unavailable.
- Notify the airline early. Many carriers ask for 48 hours or more of notice and may request a physician’s statement and the battery specifications.
Keep a printed copy of each battery’s Wh rating with your travel documents.
Keeping batteries healthy
- Rotate your batteries so they age evenly, instead of using one constantly and saving the other.
- Charge at room temperature, and never charge a battery that is hot or damaged.
- Follow the manufacturer’s storage guidance for batteries that will sit unused, and do not store them fully drained.
- Label and date each battery and log the runtime you measure. A steady decline tells you when to plan a replacement.
- Stop using any battery that is swollen, leaking, unusually hot or smells odd, and contact the manufacturer or your equipment provider.
Replacing a worn battery: your options
The clearest sign is simple: the battery no longer covers the outings you need it for. Other signs include sudden drops from a full indicator to a low-battery warning, shutdowns when unplugged, and failed battery self-checks.
Before buying anything, check who owns the equipment. A rented or provider-supplied concentrator is usually the provider’s responsibility, so call them first. If you own the device, there are three common routes:
| Source | Best when | Watch for |
| Equipment provider or manufacturer | The unit is rented or still under warranty | Lead times, and in some cases it is the only route that keeps coverage intact |
| Authorized dealer | You own the device and want original parts | Higher prices; confirm the exact part number |
| Independent battery supplier | The original is discontinued, out of stock or costly | Verify voltage, Wh, connector and chemistry; ask about warranty, returns and compatibility support |
Independent suppliers that organize listings by device type and part number, such as this catalog of compatible replacement batteries for medical equipment, make it easier to cross-check specifications before ordering. Whichever route you choose, match the part number, voltage, Wh rating, chemistry and connector to your original battery, not just the shape. If you fly, remember that a larger-capacity pack may exceed airline limits. Batteries for implanted devices are a separate matter and should only ever be handled by your medical team.
A quick pre-outing checklist
- Batteries fully charged and indicators checked
- Planned hours calculated from your timed runtime, plus a buffer
- Spare battery protected and easy to reach
- Wall adapter, car adapter and cords packed
- Spare nasal cannula or tubing
- Prescription details, provider phone number and device manual on hand
- A companion who knows how to swap the battery, if possible
- Clinic or airline notified in advance when needed
When to call your care team
Contact your doctor or equipment provider promptly if you notice shortness of breath, unusual drowsiness, confusion or bluish lips, or if the device alarms and you cannot resolve it quickly. In an emergency, call your local emergency number rather than troubleshooting equipment.
This article is general information about equipment and power planning and is not medical advice. Always follow the instructions of your physician, your oxygen equipment manufacturer and your airline.