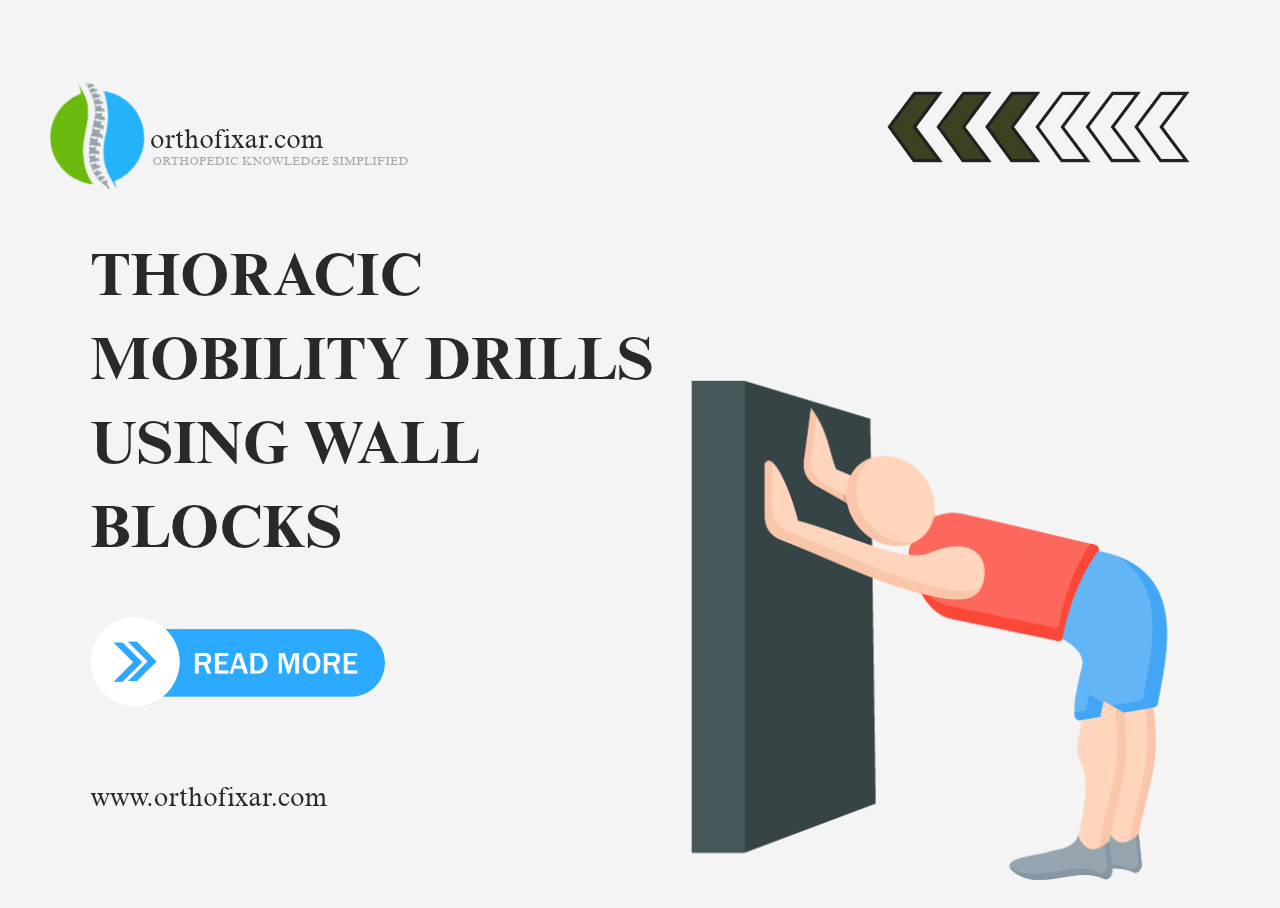
Thoracic mobility drills using wall blocks are a simple, low-cost way to restore extension and rotation in a stiff mid-back. They work because the wall and blocks provide feedback and a stable reference point that open-floor stretching rarely delivers. This guide explains how to set up and progress these drills, which ones are most useful in clinical practice, how to avoid common errors, and how to build them into a short daily routine. It also covers who should modify or skip them and answers the questions patients ask most.
Why the Thoracic Spine Stiffens
Most stiff mid-backs seen in clinical practice are not damaged; they are underused. Desk work, driving, and prolonged phone use hold the thoracic spine in flexion and internal rotation for hours, and the body adapts to what it repeats.
The thoracic spine is also built for stability. Its rib attachments and the shape of its facet joints limit movement compared with the neck and low back, so it needs deliberate, repeated motion to stay supple. When extension and rotation decline, the neck and shoulders often pick up the slack, which can contribute to discomfort in those areas.
- Prolonged sitting keeps the mid-back flexed and reduces rotation demand.
- Rib cage stiffness limits how much the thoracic segments can extend and rotate.
- Weak scapular control lets the upper back round and the shoulders drift forward.
- Age-related changes gradually reduce extension, which makes daily practice more valuable, not less.
- One-sided habits such as carrying a bag on the same shoulder or holding a phone in one hand can reinforce rotational asymmetry.
Why Use Wall Blocks Instead of Open-Floor Stretching
Blocks give you a fixed reference point, so you can feel exactly where movement is coming from. Placed against a wall, they create a pivot or a target that encourages motion at the thoracic segments rather than the lumbar spine.
Blocks also make the drill self-correcting. If your low back arches or your ribs flare, the blocks and wall make that obvious, which is hard to detect when you stretch free-standing.
- Feedback: the wall tells you when your pelvis or ribs have drifted.
- Isolation: a block under the upper back helps localize extension to the mid-thoracic region.
- Accessibility: a foam block, a firm cushion, or a rolled towel works; no gym equipment is required.
- Scalability: you can raise or lower the block height to match your tolerance.
- Safety: supported positions reduce the urge to force range.
How to Set Up Your Wall and Blocks
Choose a clear section of wall with enough floor space to lie down and extend your arms overhead. A yoga block, a firm cushion, or a folded towel all serve the same purpose; the key is that it holds its shape under load.
Before each session, check three things: your pelvis stays in contact with the floor, your ribs do not flare upward, and your breathing stays calm. If any of these change, reduce the range or the block height.
- Use a non-slip mat so your feet and shoulders do not slide.
- Place the block where the drill requires it: under the upper back, between the knees, or against the wall.
- Keep the block firm; a soft pillow collapses and removes the feedback.
- Start with the lowest useful height and progress only when the movement feels easy and controlled.
- Warm up briefly with gentle walking or arm circles before the first drill of the day.
Five Thoracic Mobility Drills Using Wall Blocks
These drills are easy to teach, easy to repeat at home, and target extension and rotation separately. Perform each slowly and stop before you feel pinching or sharp pain.
1. Wall Block Thoracic Extension
Lie on your back with a block under your upper back at roughly the level of your shoulder blades, knees bent, and feet flat. Support your head with your hands and gently extend over the block, exhaling as your upper back opens.
Hold for two to three breaths, return to neutral, and repeat. If your low back arches, lower the block or reduce the range. Moving the block slightly higher or lower between sets lets you target different segments of the mid-back.
2. Seated Wall Rotation With a Block Between the Knees
Sit tall with your back against the wall, a block squeezed lightly between your knees, and arms crossed over your chest. Rotate your upper trunk away from the wall while keeping your pelvis square and the block in place.
This drill teaches you to separate thoracic rotation from hip and pelvic movement. Alternate sides for six to eight controlled repetitions each. If the block slips, you are rotating through the hips rather than the mid-back.
3. Half-Kneeling Wall Reach
Kneel with the forward foot close to the wall and the back knee down, then place both hands on the wall at shoulder height. Reach one hand higher and slightly across as you rotate your upper back, keeping your hips facing forward.
The wall gives you a target and a limit, which makes it easier to feel true thoracic rotation rather than shoulder shrugging. This drill is especially useful for people who reach overhead or throw, because it combines rotation with an upward reach.
4. Block-Supported Open Book
Lie on your side with a block under your head and knees bent, then open the top arm across your body toward the floor behind you. Let your upper back rotate while your knees stay stacked on the block or cushion.
Pause at the end range, breathe, and return slowly. This is one of the most useful drills for rotation stiffness that shows up with reaching and twisting. Placing a hand on the top ribs can help you feel whether the rotation is coming from the mid-back or the lower spine.
5. Wall Angel With a Block Between the Forearms
Stand with your back near the wall, forearms on the wall, and a small block held lightly between your wrists or forearms. Slide your arms upward while keeping contact with the wall and your ribs down.
This drill blends thoracic extension with scapular upward rotation. Keep the range small if your shoulders or mid-back feel tight, and stop the slide as soon as your ribs begin to lift away from the wall.
Drill Comparison at a Glance
| Drill | Primary Focus | Best For | Key Cue |
|---|---|---|---|
| Wall Block Thoracic Extension | Extension | Rounded upper back, desk posture | Ribs stay down, extend over the block |
| Seated Wall Rotation | Rotation | Twisting stiffness, pelvic control | Keep the block between the knees still |
| Half-Kneeling Wall Reach | Rotation with reach | Overhead and throwing athletes | Hips face forward throughout |
| Block-Supported Open Book | Rotation | General stiffness, warm-up | Knees stay stacked, breathe at end range |
| Wall Angel With Block | Extension and scapular control | Postural endurance | Forearms stay on the wall |
Common Mistakes to Avoid
Most failed home programs come down to a handful of avoidable errors rather than the wrong exercise. Correcting these usually improves the drill more than adding new ones.
- Arching the low back instead of extending the mid-back; keep the ribs down and pelvis neutral.
- Forcing end range with momentum rather than breathing into the motion.
- Using a block that is too high, which pushes movement into the neck or low back.
- Holding the breath, which increases stiffness and reduces control.
- Rushing repetitions instead of pausing for two to three breaths at end range.
- Ignoring shoulder symptoms that appear during overhead drills.
- Chasing range at the expense of control; a smaller, cleaner movement beats a large, sloppy one.
How to Build a Short Daily Routine
A focused ten-minute session done most days beats an occasional long one. A balanced routine pairs one extension drill with one rotation drill and finishes with the wall angel for control.
- Two to three minutes of gentle extension over the block.
- Six to eight slow rotations per side, seated or open book.
- Two sets of wall angels with the block for scapular control.
- Finish with relaxed breathing to settle the rib cage.
Progress by increasing hold time or range before increasing block height. If a drill feels easier over a week or two, that is your cue to make it slightly more challenging, not to add more drills. Rotate the rotation drill every few weeks to keep the routine fresh and to address different movement patterns.
When to Modify, Delay, or Skip These Drills
These drills are generally gentle, but they are not right for everyone at every stage. If you have had recent spinal surgery, a known fracture, or are in the early stages of recovery from a rib or spinal injury, check with your treating clinician before starting.
Stop and seek assessment if you notice sharp pain, numbness, tingling, or symptoms that travel into the arms or legs. For general guidance on safe physical activity, the World Health Organization physical activity guidance is a useful starting point, and your physical therapist can tailor drills to your specific presentation.
- Osteoporosis or compression fracture history: avoid aggressive extension and get clearance first.
- Acute neck or shoulder pain: modify overhead drills and keep ranges small.
- Recent rib injury: delay rotation drills until pain settles.
- Dizziness or balance concerns: practice with support and supervision.
- Pregnancy: lying on the back for extended periods may be uncomfortable; use seated and standing variations instead.
How to Know the Drills Are Working
Progress shows up as easier reaching overhead, less mid-back tightness after sitting, and better tolerance for twisting tasks. Rating stiffness on a simple scale before and after a week of practice makes change visible and helps you decide whether to progress or adjust.
If nothing changes after two to three weeks of consistent practice, the drill may need adjusting, or the stiffness may need a broader assessment. A physical therapist can identify whether the limitation is truly thoracic or coming from the ribs, shoulders, or hips.
Conclusion
Thoracic mobility drills using wall blocks are a practical, accessible way to restore extension and rotation in a stiff mid-back. The wall and blocks give you feedback, help you isolate the thoracic spine, and make progress easy to measure. Keep sessions short, move slowly, and correct the common errors before adding difficulty. If symptoms persist or you have a relevant medical history, get an individual assessment.
Frequently Asked Questions
What are thoracic mobility drills using wall blocks?
They are exercises that use a wall for support and a firm block for feedback to improve extension and rotation in the mid-back. The block helps localize movement to the thoracic spine and makes it easier to notice when the low back or pelvis compensates.
How often should I do thoracic mobility drills?
Most people benefit from a short session most days, often five to ten minutes. Consistency matters more than duration, and you can adjust frequency based on how your back responds and any guidance from your physical therapist.
Can I use a cushion or towel instead of a block?
Yes, as long as it is firm enough to hold its shape under your body weight. A yoga block, firm cushion, or tightly rolled towel all provide the feedback these drills rely on.
Why does my low back arch during thoracic extension drills?
This usually means the movement is coming from the lumbar spine rather than the mid-back. Lower the block height, reduce the range, keep the ribs down, and move more slowly with your breath.
Are these drills safe if I have neck pain?
Many people with neck pain tolerate them well when ranges are kept small and the head is supported. If neck symptoms increase during or after the drill, stop and have a clinician assess the movement pattern.
How long before I notice a difference?
Some people feel looser after a single session, while lasting change usually takes a few weeks of regular practice. Progress varies with your starting stiffness, daily posture habits, and consistency.
Can these drills help with shoulder pain?
Improved thoracic extension and rotation can reduce demand on the shoulder during overhead tasks, which sometimes helps shoulder symptoms. They are not a substitute for a shoulder assessment if pain is significant or persistent.
Should I do these drills before or after exercise?
They work well as part of a warm-up before overhead or twisting activities, and also as a cool-down or standalone session. Choose the timing that fits your routine and keeps you consistent.
What if a drill causes pinching or sharp pain?
Stop the drill and reduce the range or block height when you try again. Sharp pain, numbness, or tingling that persists is a reason to seek assessment from a physical therapist or physician.
Do I need a physical therapist to learn these drills?
Many people can learn them from clear instructions, but a physical therapist can check your technique and tailor the drills to your presentation. This is especially useful if you have a relevant medical history or symptoms that do not settle.